Content Censor allows you to filter profanity and other unwanted words and phrases from your WordPress site. A content scanner is included which analyzes your entire site to locate specific instances of unwanted content so you can take active steps to remove/edit as necessary.

Once purchased you can download the plugin zip file from your WPGO Plugins account area. Complete the following steps to install Content Censor on your site:
- On the site you wish to install the plugin go to the WordPress admin dashboard and click the Plugins link in the left hand menu.
- At the top of the Plugins list page click the Add New button, and then on the next page click the Upload Plugin button.
- You’ll now see a Choose File button. Click it and select the plugin zip file you downloaded to your computer earlier.
- Once the plugin has been selected click the Install Now button to begin the installation process.
- In a few seconds you should see a Plugin installed successfully message. Click the Activate Plugin link underneath to make the plugin ready for use.
Plugin Usage
First and foremost you’ll need to enter a list of keywords/phrases you want to be filtered. Click on Settings > Content Censor to go to the plugin settings page and make sure the Filter Settings tab is selected. In the Keywords to Remove text box enter a list of keywords that you don’t want to appear anywhere on your site. You can also choose which character is used as the keyword separator; default is the pipe symbol (|).

Once you have a list of keywords you’re all set to to start managing unwanted content. Let’s take a look at the other filter options.
If there are any pages that you don’t want to be filtered for unwanted content then you can enter a comma separated list of page ID’s in the Exclude Pages text box.

By default, the list of keywords you entered earlier to filter your site content will ignore matches if found in the middle of a word. For example, if one of your unwanted keywords was ‘ass’ then the word ‘passable’ would not be altered when strict filtering is enabled (default setting).

You can turn off strict filtering if you wish. In which case the example above would filtered and become ‘p***able’. In most cases this is not desirable so strict filtering is enabled by default.
There are several types of content that can be filtered. By default all main content in posts/pages are filtered, as are titles and comments.

You can optionally also filter post tags and the post tag cloud (if this is displayed via your theme).
There are flexible options for how censored content is displayed on the front end. By default all letters from the offending word or phrase are replaced by a predetermined placeholder; asterisk (*) by default.

You can choose to retain the first letter, or the first and letter. The replacement character can also be changed from an asterisk to one of several alternate characters. The full list of replacement characters is:
- Asterisk
- Dollar
- Question
- Exclamation
- Hyphen
- Hash
- Tilde
- Blank (completely removes the filtered keywords from view)
By default keywords matched to content are case insensitive, so more words and phrases can be matched. Matching can be set to case sensitive if you prefer.

For example, with case sensitive matching, if one of your keywords is ‘red’ then words such as ‘Red’, ‘RED’, ‘rEd’ will NOT be filtered. Only ‘red’ will be filtered.
However with case insensitive matching all variants will be filtered so if someone tries to fool the filter by setting one letter to uppercase the word will still be filtered.
Front End Censoring
Once you have entered a list of keywords, and have the filter options set to your requirements, your site will be protected from unwanted content.
Every time your site is viewed content is actively scanned before it is displayed in the browser. Whenever unwanted content is found it will be filtered and formatted according to plugin settings.
Active Content Scanner
Whilst it is great to have peace of mind that your front end content is being protected it doesn’t help much if you want to be able to manage unwanted content manually. In order to do this you need to know where unwanted content is located on your site!
Content Censor includes an active content scanner that searches through your entire site looking for matches to the list of keywords entered in plugin settings. It compiles a report of flagged instances of unwanted content.
To run a scan go to Settings > Content Censor and click on the Scan Content tab and then click the Scan Now button. That’s it!

Once the scan has finished you can review the report and click on any matched instance to go directly to the content in question and deal with it as you wish.
Note: You can also use the content scanner to simply keep track of how many instances of unwanted content there are on your site and just leave them as they are, and let the front end filtering settings continue to automatically handle the censoring for you!
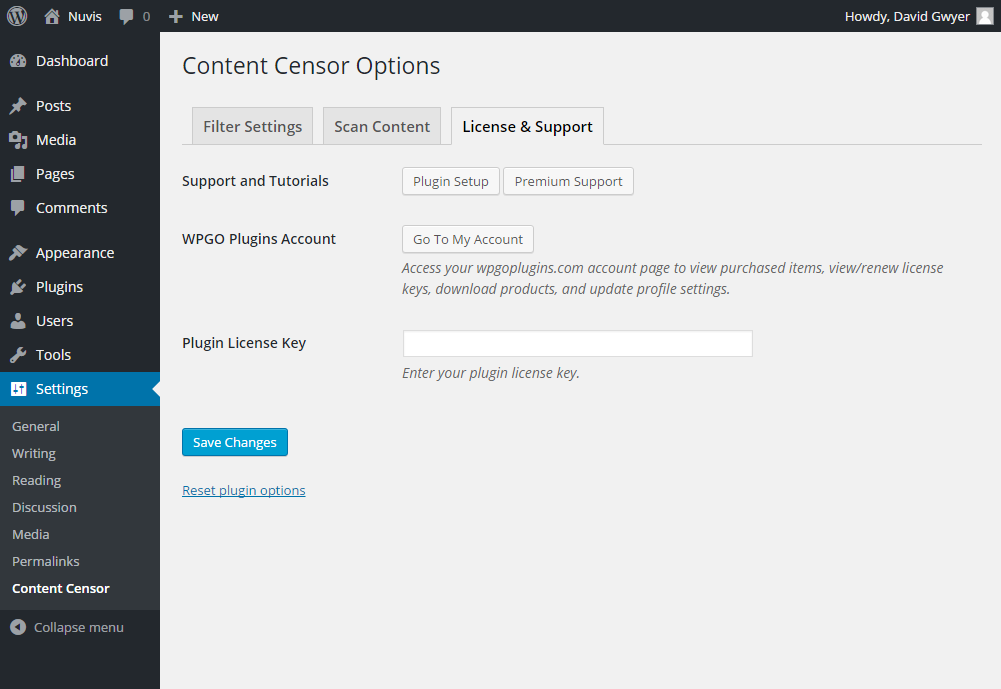
License and Support
Click on the License & Support tab for links your WPGO Plugins account page, plugin support, and documentation. You can also enter your plugin license key for access to future plugin updates directly from the WordPress admin.
Still Have Questions?
We’d love to hear from you! If there’s any aspect of the plugin that you need help with or have any suggestions then please get in touch. You can contact us directly here.